
I have been running a Waterbox AIO 25 Peninsula for a while now and wanted to share my equipment and automation setup that keeps everything running smoothly. This build focuses on reliability, clean aesthetics, and smart control using Home Assistant.
Equipment Overview
The tank sits on its m...
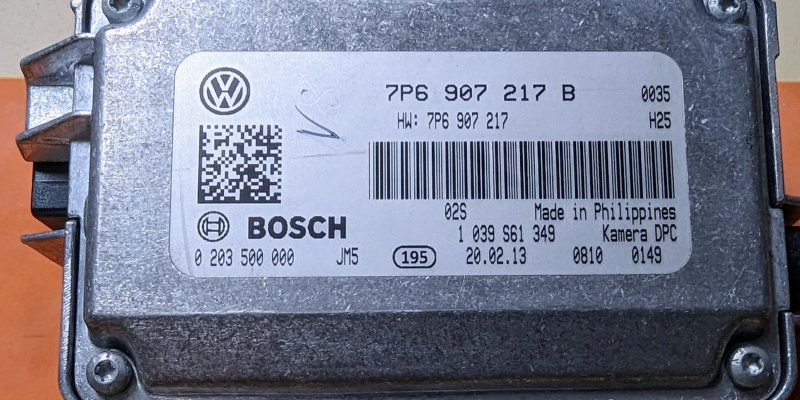
This fault occurred a few years ago. In my initial investigations and problem-solving, I came across this post in the Club Touareg forum – ACC windscreen camera replacement, fault still after calibration
I bought the cable from Kuftec and fitted it, unfortunately, it did not resolve the issue....
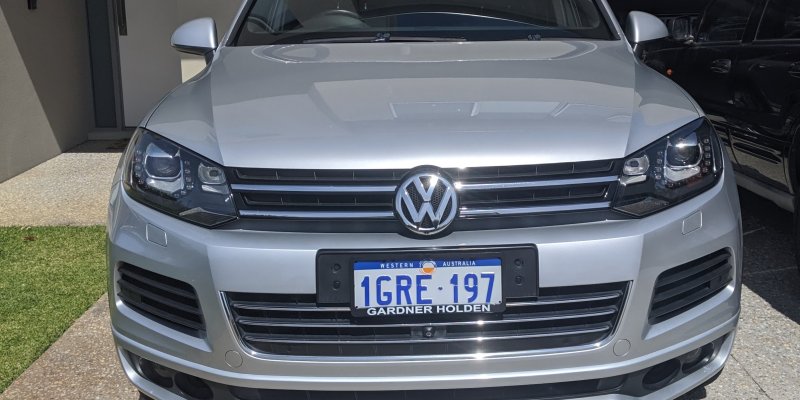
Replacing a headlight bulb shouldn’t be this hard.
I ended up changing it without dropping the bumper. I had to dismantled the airbox, by pulling the two large pins, in order to gain enough space to get the rear of the housing out. Another pain was the hose clamps used on the airbox, I had to u...
